Contents
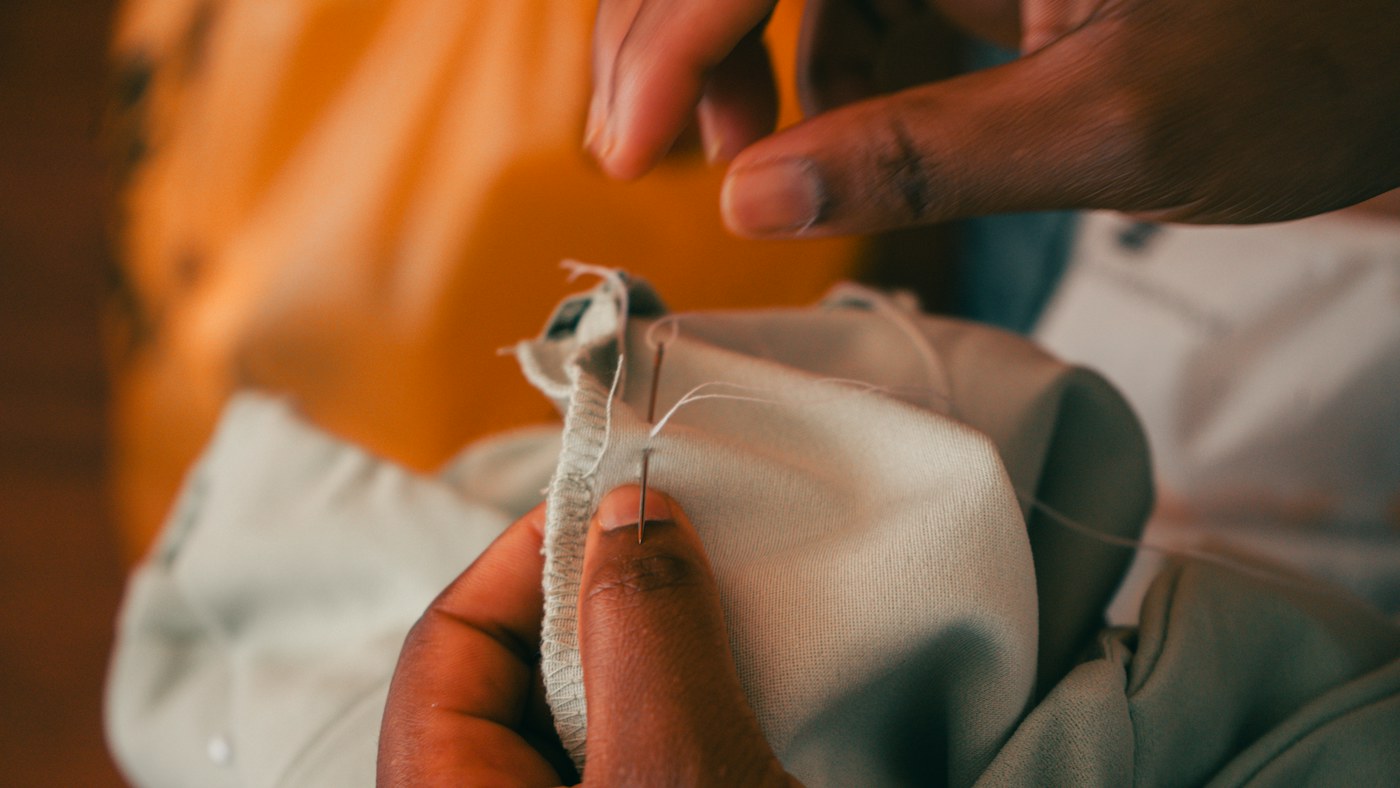
I would not begin a mending kit with an empty box that needs filling. I would begin with three ordinary tasks I can describe. A loose adult-shirt button, a short hem in sound woven cloth and a small practice patch give the tools a reason to be there.
Those jobs are examples, not a promise that one kit handles every fabric or garment. I want a beginner kit to make a manageable repair easier to start and safer to put away, without suggesting that buying more equipment creates the missing experience.
Start with the work, not the storage box
For the imagined button, I need to attach a particular fastening to suitable cloth. For the hem, I need to see, hold and stitch the fold. For the practice patch, I need a compatible sample and a way to cut it cleanly. That list is already more informative than “buy a sewing kit.”
I would check what is available before buying. An existing tool may be suitable, unsuitable or in poor condition. The goal is not maximal thrift at the expense of control, but a deliberate choice. A tool earns its place by doing one of the identified jobs adequately.
Make the essential tools easy to understand
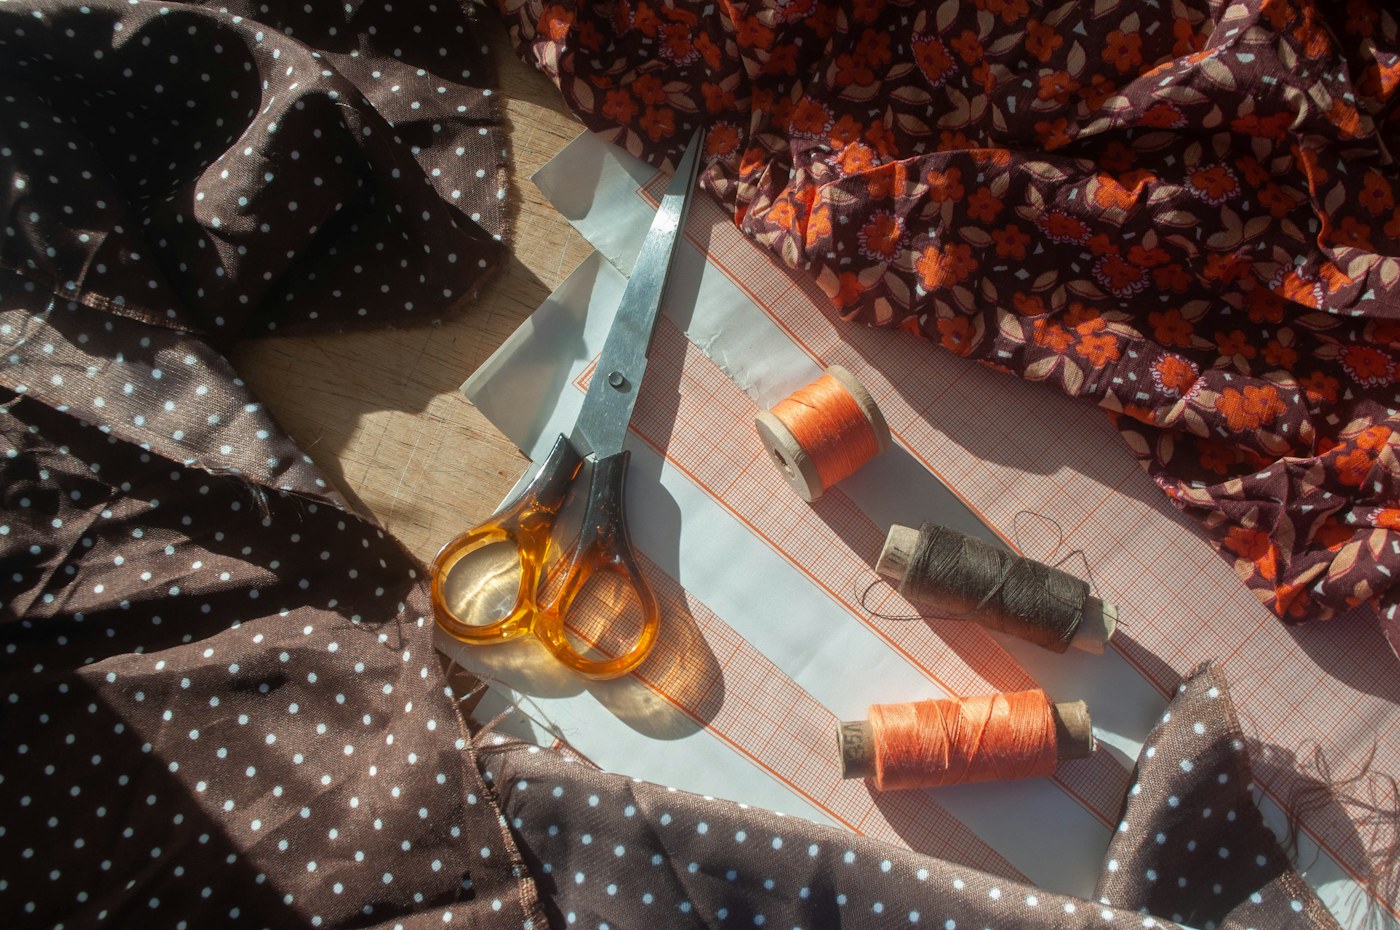
The Patagonia hand-sewing toolkit reference lists cutting, measuring, marking and stitching tools along with optional aids. I would treat it as a reference, not a compulsory shopping basket. A basic setup needs enough control for the selected repair and a clear understanding of each tool’s purpose.
For example, a seam ripper removes stitches. It does not replace lost fabric or establish where a new seam should go. A measuring tool helps compare and mark; it does not decide the correct alteration. Knowing those limits can prevent a tool from encouraging a larger job than I meant to undertake.
Give each item a job in the small kit
The demonstration table keeps the first kit tied to the three tasks. It is not a product ranking or a tested minimum for every person. Someone with reduced dexterity, different vision needs or a different fabric may need suitable adaptations or help.
I would leave the kit’s exact contents open until the task is understood. A needle that is appropriate for a dense woven sample may not suit a loose knit. A useful kit can contain a few carefully chosen options without becoming a mixed collection of unidentified sharps.
| Need | Possible tool | Reason to include it |
|---|---|---|
| Make controlled stitches | Suitable needle and compatible thread | Chosen for the actual fabric |
| Trim thread or a sample | Appropriate cutting tool | A clean, controlled cut |
| Hold a fold | Suitable pins or clips | Keep the intended layers aligned |
| Place the repair | Measuring and compatible marking tools | Compare before stitching |
| Put everything away | Secure small container | Contain sharps and loose parts |
Treat comfort and control as part of the kit
The needle-and-thread reference explains that eye, shaft and point affect the match with fabric and thread. I would choose a combination that passes without unreasonable force. A threader or thimble may be useful for a particular person and task, rather than an ornamental extra or a universal requirement.
The work surface and light matter too. I would make room to see both sides of the item and avoid balancing loose needles beside everyday food or children’s things. A safe stopping routine is part of the setup, especially when a repair must share a table with the rest of the household.
Add tools only after a repeated problem appears
A darning tool, specialist presser foot or larger cutting setup may be worthwhile when a defined task needs it. I would not buy one simply because it appears in a comprehensive kit photograph. The beginner’s first decision is usually about a particular garment, not a future workshop that must handle everything.
I would record the problem before looking for the purchase. “I cannot hold this fold securely with the current setup” leads to a useful comparison. “My kit seems incomplete” can lead to more objects without clarifying why the current repair is difficult.
Put the kit away as deliberately as it comes out
At the end, I would account for the needle, close cutting tools safely and remove pins from the workpiece before it returns to ordinary use. Loose small parts belong in a secure container. The repair is not complete if the clothing has become the storage place for tools.
A small note about the successful material match can make the next job easier: the thread used, the type of sample and any issue encountered. That is practical information. A box containing more unlabeled tools is not necessarily a more capable kit.
Pack a kit for one specific button repair
I would start with the ordinary adult-shirt button from the first task and describe what needs doing. The button should be suitable and intact, the supporting cloth should be sound and the method should match the fastening. Only then would I select the needle, thread and tools for cutting and placement. That sequence prevents a general shopping list from being mistaken for a repair plan. The kit is useful because it supports an understood task, not because its container has every compartment filled.
I would check whether the needle and thread work together and whether the needle suits the fabric. A needle that is easy to thread may still be inappropriate for the material. I would also identify how I will hold the garment and see the reverse. A good light and a clear surface are part of the working arrangement even though they may not fit in a sewing box. They can matter more to control than adding another specialized accessory.
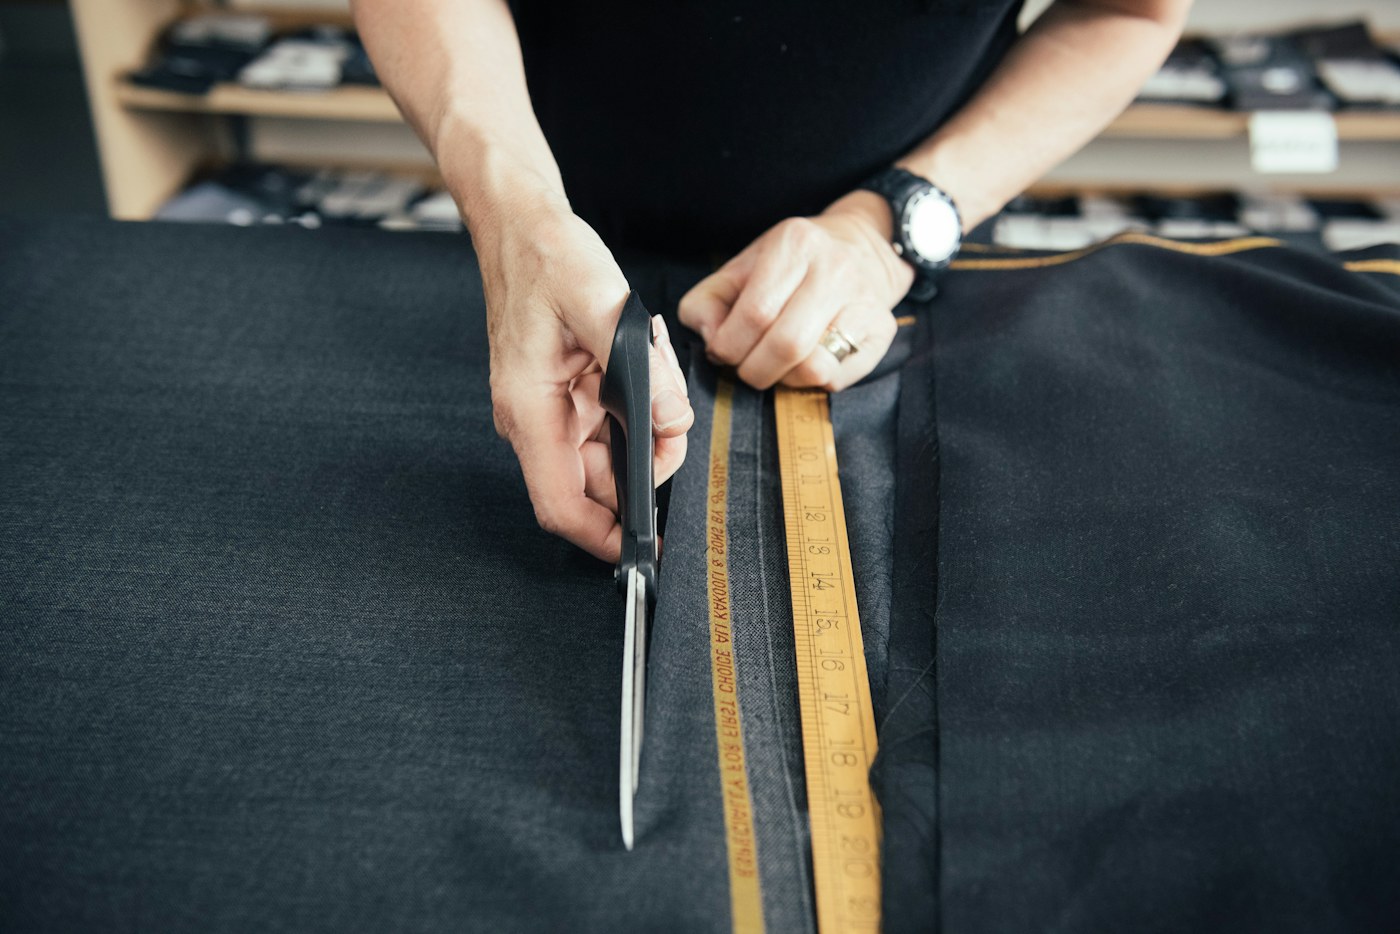
The cutting tool should suit the job. Trimming thread is different from cutting a patch, and a tool's size or appearance does not establish whether it gives a controlled cut. I would inspect the actual tool's condition and use it according to its purpose. I would not begin cutting worn cloth simply because scissors are available. For the button task, the garment itself may not need cutting at all, which is another reason to name the job before unpacking everything.
Before putting the kit into use, I would plan how the needle and small parts will be contained during interruptions. A repair at a shared table needs a clear stopping routine. The work should not leave a loose sharp in the garment or among everyday objects. A secure container has earned its place in this small kit because it solves a real part of the task. It is not merely the object that makes the tools look like a coherent purchase.
Add the woven hem without turning the kit into a workshop
The hem task introduces another need: keeping an existing fold aligned while a short opening is repaired. I would inspect whether suitable pins or clips are appropriate for that fabric and access. The holding arrangement should preserve the intended layers without making the work harder to control. If the material is delicate or difficult to mark, I would not assume ordinary pins and a marking pen are automatically acceptable merely because they appear in a comprehensive kit.
A measuring tool can help compare the fold and stitch path, but it does not decide the correct construction. I would use the intact hem and relevant method as context. If the item has been altered or the fold is unclear, more measurements may not resolve the underlying uncertainty. The next step might be asking for an item-specific assessment. The kit should make good decisions easier to carry out, rather than encourage a beginner to continue every task for which a tool exists.
I would choose any marking method with its compatibility and removal requirements in mind. A small sample or suitable hidden-area check may be appropriate under the product's instructions. A mark that seems temporary in a demonstration can behave differently on another material. I would keep the original garment out of an uncertain experiment, especially when the desired result is discreet. Tool availability is not proof that using the tool on this fabric is sensible.
After this second task, the kit may still be small: suitable needle options, thread, a controlled cutting tool, measuring and an appropriate holding method. The useful change is understanding the role of each item. I would not add a sewing machine solely to make the kit feel more complete. A machine can be valuable for tasks that warrant it, but its purchase is a different decision from preparing for one hand-sewn hem in sound woven cloth.
Use the practice patch to decide what is missing
For the third task, I would use a compatible scrap and a small practice setup rather than cut the real garment immediately. The purpose is to understand placement, edge preparation and the selected stitch movement. I would identify what the current tools actually fail to do. Perhaps the cutting tool cannot manage the intended sample cleanly, or the holding arrangement makes the reverse difficult to see. Those are concrete reasons to change the setup.
I would separate a tool problem from a material problem. A threader does not make an unsuitable thread and fabric combination compatible. A larger pair of scissors does not supply sound supporting cloth around a hole. A more elaborate ruler does not establish how much damaged material needs reinforcement. Naming the actual obstacle can prevent an unnecessary purchase and, more importantly, avoid allowing a new tool to disguise an unanswered question about the repair itself.
The practice exercise should have a limited endpoint. I would want to understand the stitch path, inspect both sides and see whether the sample gathers or catches. That is enough to make the exercise informative. It is not a test of the future garment's durability. The sample's material and layer arrangement should be recorded if the observation will influence another task. Otherwise “this worked” may later be applied to a very different fabric with none of the original context retained.
The decision about an additional tool should follow that observation. A useful purchase can remove a specific repeated obstacle. An unnecessary one may add storage, identification and maintenance without changing the task. I would prefer a small kit whose items I can explain to another beginner over a larger kit that contains several unfamiliar objects kept because they might someday be useful. The three jobs are a starting boundary, not a shopping challenge that must produce the longest possible inventory.
Make access and safe storage part of the kit choice
The right setup depends on the person using it as well as the material. I would consider whether the tools can be held comfortably and controlled, whether markings can be seen and whether threading is manageable. A threader, suitable magnification or a changed work position may help a particular task, but I would not prescribe one arrangement for everyone. The practical test is control and visibility in the actual work, within the tools' intended use.
I would keep identification simple. Needle types and loose parts should not become an indistinguishable mixture. A small labeled storage arrangement can make the next selection easier without requiring a catalog of every item. If I cannot identify a needle or do not know whether a marking tool suits the fabric, the kit has an information problem as well as a storage problem. Adding more items before resolving it may make future repairs harder to begin.
A session should end with an account of sharps and temporary tools. I would remove pins from the garment, secure needles and close cutting tools appropriately. The repaired item is not a safe substitute for the storage box. A shared household also needs the tools kept away from children and other people who might handle the clothing without knowing work is unfinished. These are ordinary parts of finishing the task, not optional housekeeping after the “real” repair is done.
I would review the kit when a new repeated need appears. That keeps growth connected to experience rather than anticipation. A tool can be removed from the active kit if it no longer serves the tasks being done, while specialist equipment can remain separately identified. The outcome is a working set with clear roles, not a collection defined by its size. Each item earns its place by helping a real repair become more understandable, controlled or easier to put away.
Check the kit against the next actual job
Before closing the box, I would choose one intended repair and point to the role of each item I plan to use. The needle and thread should have a material reason. The cutting tool should have a specific controlled task. Measuring or marking should answer a placement question. Holding tools should preserve the intended layers. The storage should account for sharps and small parts. If an object has no role in this job, it can remain stored rather than spread across the work area.
I would then identify anything missing that genuinely blocks the method. That might be suitable thread, adequate visibility or a way to hold the material confidently. I would not define the missing item as “a more complete kit.” The obstacle should be concrete enough that a purchase or setup change can be assessed against it. Sometimes the answer is a different arrangement or professional help rather than another tool. A good small kit supports sensible decisions, including recognizing when the selected job does not fit the available setup.
The final rehearsal is putting the task away before beginning it. I would know where the needle will go if interrupted, where temporary parts will be kept and how unfinished clothing will remain separate from ordinary use. That plan makes the work easier to stop safely and resume clearly. The kit has become useful when its tools, information and stopping routine fit an actual repair. Its value is not the number of objects it contains, but the number of avoidable uncertainties it removes from that task.
Frequently Asked Questions
Q: Do I need a sewing machine?
A: Not for the small hand-sewing tasks used to plan this kit. Other repairs may suit a machine, but the intended job should determine the equipment rather than the other way around.
Q: Is a large prepacked kit better value?
A: It depends on whether its tools suit your actual tasks and needs. Quantity alone does not establish quality, suitability or useful value. Check the items individually.
Q: Should I buy every needle type?
A: No. Begin with the materials you intend to work on and choose appropriate options. Learn the differences before collecting a wide assortment you cannot identify.
Q: Are marking pens always removable?
A: Do not assume so. Follow the product’s instructions and test compatibility and removal on a suitable hidden area or scrap before marking the garment.
Q: What belongs outside a beginner kit’s scope?
A: Safety-critical equipment, electrical repairs, valuable or fragile textiles and construction you do not understand may need specialist methods or service. A small kit should not imply competence in every repair.
One thing to take forward
I would build the kit from the next three manageable jobs, then leave room for the tools to earn their way in. A clear purpose and a safe putting-away routine make a smaller kit more useful than a box filled in anticipation of every possible repair.
Sources & further reading
Something needs correcting? Write to the editors with the article link.