Contents
A loose hem can look like one long invitation to start sewing. I would first ask a smaller question: has the stitching opened, or has the cloth itself been damaged? A short area of lost thread may be a manageable hand repair. A frayed or thinning edge needs a different plan.
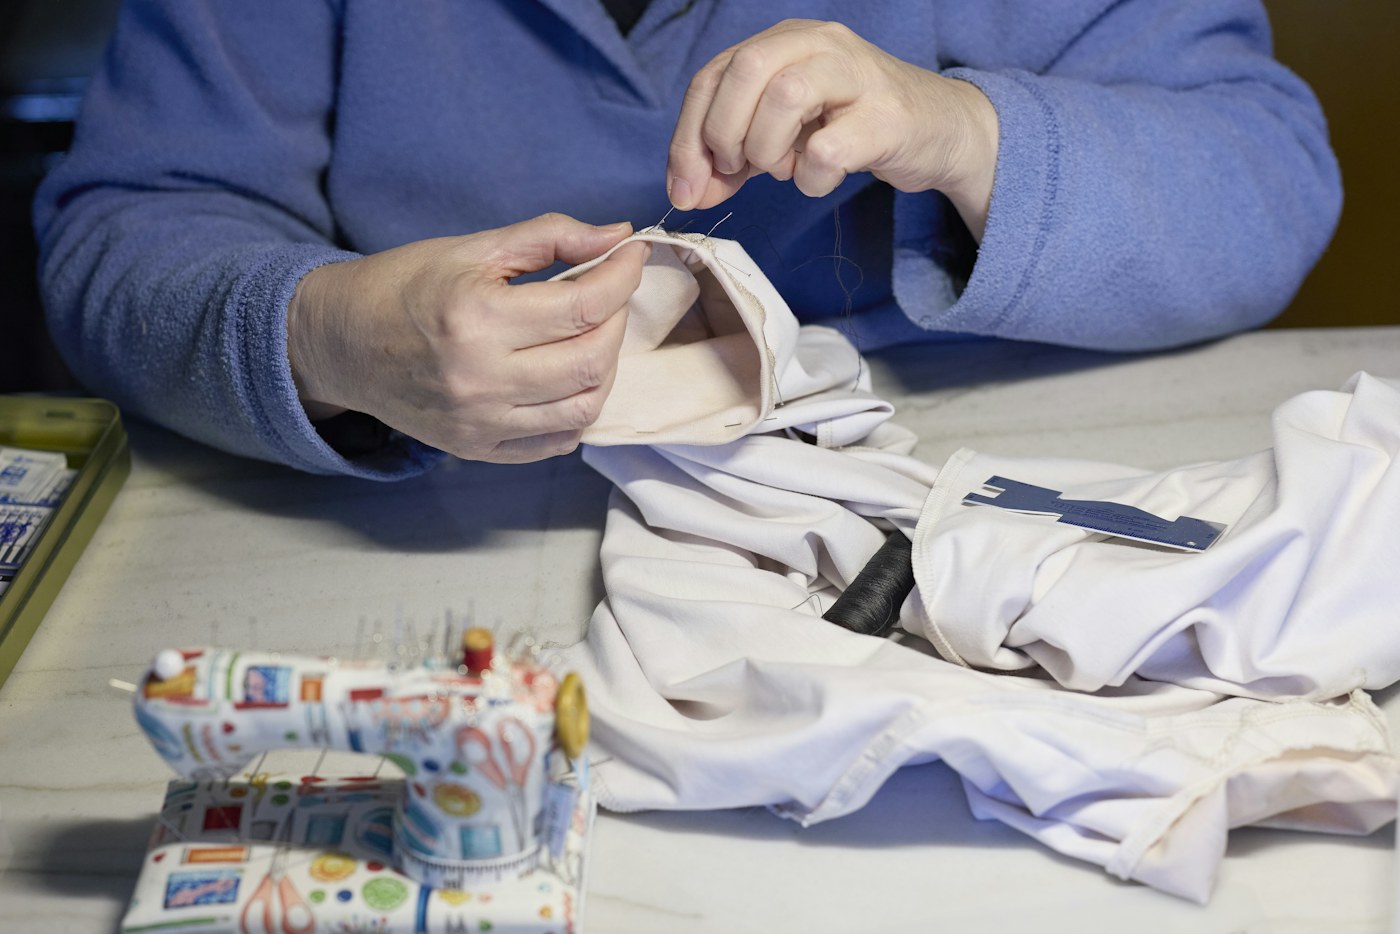
Here is a hypothetical pair of ordinary woven cotton shorts. A short section of hem stitching has come away, but the cloth and its fold remain intact. I will use that specific example to explain the decisions around the repair, with the linked illustrated method supplying the actual stitch demonstration.
Inspect both sides before tidying anything
I would lay the shorts flat and follow the opening to each end. The visible loose thread may extend beyond the obvious gap. I would look for sound cloth, the original fold and the way the remaining stitching holds it. That tells me whether the repair can remain a small restoration of the existing construction.
I would not begin by pulling every loose end or trimming the edge. That can remove useful evidence or enlarge the task. If the fabric has worn away where the stitches belonged, I would pause. A sewing line cannot replace missing material simply because it follows the old path.
Choose the finish I am actually trying to restore
Patagonia and iFixit demonstrate a backstitch repair on a loose woven-cotton hem. That is a useful source for this constructed example. It is not an invisible-hemming method or a guarantee that the same stitch will suit a stretchy knit garment. I would match the method to the construction.
The appearance also matters. I would compare the existing visible stitching and decide how much contrast I accept. A deliberate repair line can be attractive, but it should be a choice. If the desired result is an unobtrusive finish on a delicate or formal item, a beginner exercise on cotton shorts may not be the right model.
Keep the fold from becoming a new shape
For the imagined shorts, I would preserve the existing fold and secure the short area as the illustrated guide directs. The aim is to return the edge to its original relationship, not to shorten the leg or pull the opening closed under tension. A small hem repair can accidentally become an alteration if the fold drifts.
I would check the neighboring intact section before sewing. It can show where the stitch line ran and which layers were involved. If the garment has been altered before or the fold is unclear, I would make a small plan on a sample instead of assuming every visible crease belongs to the original construction.
Prepare a controlled work area
I would choose a clear surface, adequate light and a safe place for the needle. The useful kit for this job is modest. More equipment will not compensate for a fold that is hard to see or a workpiece that slides into a pile of unrelated clothing.
The stopping point matters too. I would set aside enough uninterrupted time to secure the needle and leave the garment in a safe state if the repair takes longer than expected. A half-finished hem should not return to the laundry basket with a pin or needle still in it.
- Confirm that the cloth and fold are sound enough for the chosen method.
- Choose compatible thread and a needle that passes without unreasonable force.
- Follow the illustrated backstitch sequence on the short opening.
- Inspect the reverse and both ends of the repair before putting tools away.
Watch the cloth while the stitches form
I would pay attention to gathering and unintended layers. If each stitch draws the hem into a tighter curve, more stitching will not improve the shape. I would stop and reassess the tension or setup rather than try to flatten the problem afterward by pulling harder.
Fabric structure matters here. The linked fabric reference distinguishes interlaced woven yarns from knitted loops. I would not identify construction solely by whether something stretches, because some woven fabrics stretch too. If the shorts do not match the assumed woven example, the repair plan needs to change.
Check the ordinary use, then return it to care
After finishing, I would compare the hem with the intact side and gently check its shape. The repair should not unexpectedly narrow the opening or create a hard gathered ridge. I would look for loose ends and any tools left in the garment before it returns to normal use.
The care label still applies after repair. New thread does not grant permission to wash or dry the garment differently. If a later wash reveals another opening, I would inspect the surrounding cloth and stitching rather than conclude that a larger stitch count is automatically the answer.
Map the opening before committing the needle
I would find both ends of the loose section and compare them with the intact hem. The visible gap may not show the full extent of detached stitching. I would look for the existing fold, the stitch path and areas where thread remains attached to sound cloth. This makes the proposed repair's boundary visible. Without it, I could start in the middle of the obvious gap and leave an unstable transition at either end.
The linked woven-cotton backstitch guide demonstrates joining the repair to intact original stitching. Its measurements belong to that particular example. I would use the illustrated method to understand the transition rather than turn one numeric allowance into a rule for every fabric. A garment with weakened cloth, different construction or a stretchy edge needs its own assessment. The important planning question is how this small repair meets the part that is still sound.
I would preserve the fold without assuming every crease marks the intended hem. A previously altered item may carry more than one line. Looking at the reverse and an intact section can reveal which layers were originally held together. If that remains unclear, I would pause and compare the whole leg or ask for help. Sewing a convincing line in the wrong place can change the garment's shape while appearing tidy in a close-up.
Before beginning, I would make sure the workpiece can be held without accidentally catching the other side of the leg. That is an access problem, separate from knowing the stitch. Arranging a small opening clearly can make the method easier to follow and the reverse easier to inspect. If the position cannot be controlled comfortably, I would change the setup rather than rely on memory of where the hidden layers ought to be.
Follow the backstitch logic on a practice piece
The guide's hand backstitch makes a connected line through a repeated relationship between the preceding stitch and the next position. I would first inspect the illustrated sequence on an appropriate scrap if the movement is unfamiliar. The goal of that sample is to understand direction and tension, not to claim a tested garment repair. I would keep the sample small enough that I can see both sides and compare the result with the source.
I would watch the reverse as well as the face. Tangled thread can hide beneath a neat-looking line. If a tangle appears, I would stop while it remains local and understandable. Continuing adds more thread around a problem that is already difficult to see. A manageable working length and a clear path through the layers can help with control, but neither replaces inspecting what is actually forming under the cloth.
On the hypothetical shorts, I would return to the preserved fold and the intended stitch path. I would avoid pulling the fabric into gathers as I tighten each stitch. The hem should keep its original shape rather than become a shortened or stiffened section. If the sample did not resemble the actual material or number of layers, I would recognize that limit before assuming the handling will be identical on the garment.
The repair's finishing and transition points should follow the selected method. I would inspect how it meets intact stitching and make sure no loose tool or pin remains. The sample can then be kept with a short note about its material and purpose, or discarded safely after accounting for sharps. Its value was a limited rehearsal. It should not become evidence of durability or a reason to apply the same stitch to unrelated garments without another material check.
Compare a second hem that is not the same repair
For contrast, imagine a knit shirt with an opening at its lower edge. It may look like another loose hem, but the fabric's movement and construction can differ from the woven shorts. I would not copy the backstitch plan merely because both damaged areas lie near the bottom of a garment. The first question is what the fabric and existing seam need to do during ordinary wear.
I would inspect whether thread has failed or whether loops and surrounding material are damaged. A stitch that forms a firm line may not reproduce a construction intended to accommodate movement. The linked fabric reference helps frame that distinction, but it does not diagnose every knit or supply a universal substitute for factory stitching. If I cannot choose an appropriate method, a repairer can assess the item rather than ask the woven example to answer a different problem.
Appearance can also change the decision. A visible line on casual cotton shorts may be acceptable, while a discreet finish matters on another item. I would identify that preference before sewing, because an attempt to hide an unsuitable stitch afterward can create additional work. A beginner can choose a visible repair deliberately. The important point is that the desired result and the method agree, rather than invisibility being assumed without a basis.
This comparison gives the original repair a clearer scope. The woven-cotton example remains useful precisely because it names its material and construction. It does not need to cover every hem to be valuable. I would keep the item-specific checks at the start of the process, so that an apparently familiar fault does not encourage a reader to skip the decision that determines whether the method actually fits.
Inspect shape, movement and the return to care
Once the hypothetical woven hem is finished, I would lay it beside the intact side and inspect the fold. Has the edge become drawn up? Does the repair catch an unintended layer? Are the transitions understandable? I would check ordinary movement gently, rather than treat a hard pull as proof of strength. The aim is to see whether the work has changed the garment in a way the plan did not intend.
If the repaired section looks different, I would identify the difference before trying to flatten or conceal it. Gathering may concern tension; a drifting fold may concern placement. Those questions suggest different next checks. Adding another line on top can make the result bulkier without solving the underlying issue. I would prefer to recognize a local problem early and choose a controlled correction while the stitching remains possible to understand.
The garment should return to its permitted care, not acquire a new washing routine based on the repairer's convenience. I would retain the label and any relevant material information. A later care session can reveal more wear, but this article does not promise a particular life span. If another section opens, I would inspect its fabric and stitching as a new observation rather than automatically repeat the old work along the entire edge.
I would close the session by accounting for every pin and needle and removing temporary holding tools. That is part of returning the item to use. A clear endpoint includes the repair's condition, the garment's shape and a safe work area. The practical result is a hem with a reasoned method and an understandable finish, rather than a line of stitches whose appearance hides uncertainty about what layers it holds or why the opening began.
Rehearse the stopping point before opening the kit
I would give the hypothetical shorts a simple readiness check before beginning. The cloth is sound, the fold is understood, the chosen method fits the woven construction and both sides can be inspected. Each statement should describe something actually checked. If one is unresolved, I would name the next action instead of treating the four-item list as a set of reassuring words. The list is useful because it makes a decision visible, not because ticking it supplies expertise.
Next I would identify a safe interruption state. The garment should be held without leaving an unknown sharp hidden in its folds, and the work's current boundary should be recognizable. If I must stop before finishing, a note can say which end was started and what remains unsecured. That is more useful than relying on the unfinished item's appearance. Another person handling the shorts may not know whether the thread is temporary, the fold is pinned or the garment is ready for use.
I would then inspect the intended result in ordinary terms: a preserved fold, an understandable stitch line, no unintended layers caught and no unexplained gathering. Those are observations a beginner can ask about without inventing a strength standard. If the result differs, the note should identify the difference. It should not automatically call for another row of stitching. A clear description supports a controlled correction or an informed service inquiry more directly than an attempt to make the repair look more substantial.
Finally, I would close the work area and return the garment to its correct state. Finished clothing can leave the repair queue; unfinished work remains clearly separated from laundry or ordinary use. The practical endpoint includes the tools and the item's status, not only the stitches. That is the habit I would carry to the next small hem: inspect the material, preserve the construction and finish with enough clarity that nobody needs to guess what the last session accomplished.
Frequently Asked Questions
Q: Can I use backstitch on every loose hem?
A: No. The linked example concerns woven cotton. Stretch, finish and garment construction can change the appropriate method. Check the fabric and the result you want before copying a stitch.
Q: Should I remove all the old stitching?
A: Not automatically. Inspect what remains sound and follow the chosen method. Removing intact construction without a plan can enlarge a small repair and lose the original alignment.
Q: What if the hem edge is fraying?
A: Determine whether the fabric itself needs treatment or reinforcement. A line of replacement stitches may not address missing or degraded cloth. Seek a suitable method or repairer for that different problem.
Q: Do I need a sewing machine?
A: Not for the hand-sewn example discussed here. A machine may suit other hems, but the tool should follow the task rather than turn one small repair into a large purchase.
Q: Will the repair be invisible?
A: The demonstrated backstitch can be visible. Thread choice and construction influence appearance, but this guide does not promise invisibility. Choose a different method or service when the required finish demands it.
One thing to take forward
I would keep a short loose hem small by inspecting it before cutting or pulling. Preserving sound cloth and the existing fold gives the repair a clear job, a suitable method and an end I can recognize.
Sources & further reading
Something needs correcting? Write to the editors with the article link.