Contents
A hole gives the eye a clear target. I would look just outside it. That is where the patch needs something useful to meet, and it is also where wear can be less obvious. Choosing a patch by color alone can miss the more important questions about the fabric around the damage.
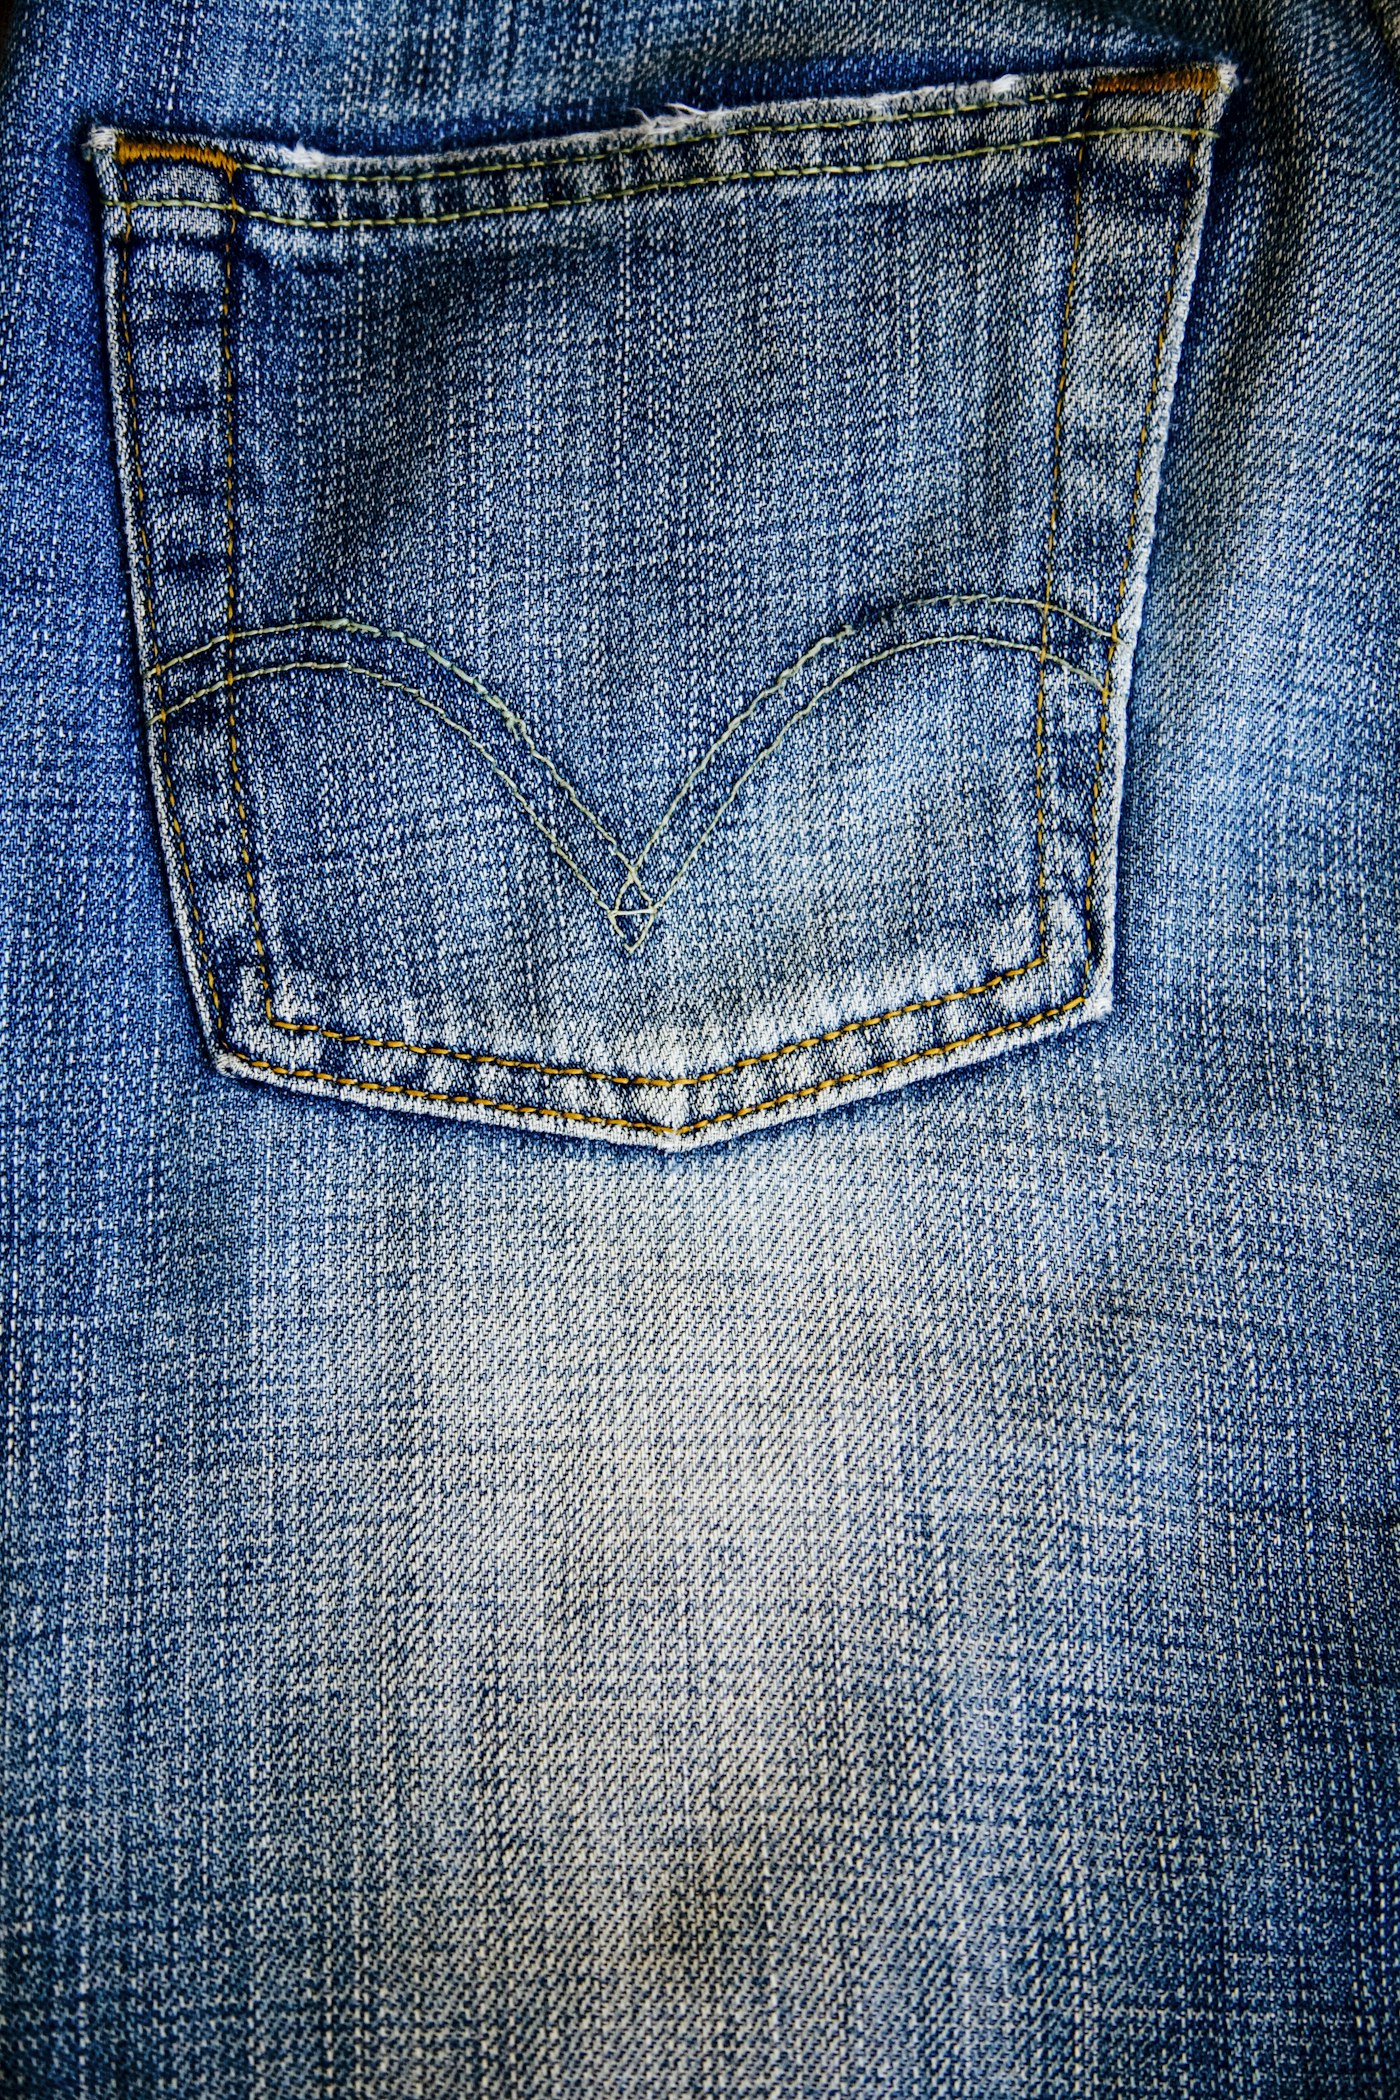
Consider an invented pair of ordinary denim trousers with a worn pocket corner. The scenario is deliberately limited: no protective clothing, no load-rated equipment and no claim of a tested repair. I will work through the patch decision before any irreversible cutting or stitching begins.
Map the wear before drawing a patch shape
I would turn the pocket area over and look for thinning, frayed edges and previous repairs. A tidy-looking opening may sit inside a larger weak area. The useful boundary is not simply the visible hole; it is the extent of the cloth that can reasonably support the proposed repair.
That inspection should stay gentle. I would not pull a damaged pocket corner hard to prove its weakness. If the surrounding material seems fragile or the construction is difficult to access, a repairer can assess it more appropriately. The point is to understand the task without making the damage worse.
Ask what the original cloth needs to do
A pocket corner bends, rubs and experiences ordinary use in a way that a decorative panel may not. I would consider that movement when choosing material. A very stiff patch can change how the area folds, even when its color is an excellent match. A very light patch may introduce a different mismatch.
The Patagonia fabric reference emphasizes construction and stretch when choosing repair fabric. I would apply that as a comparison, not a universal recipe. Fiber content, finish, thickness and direction all deserve attention. A stretch test alone does not establish whether the original material is woven or knitted.
Choose appearance deliberately
I would ask whether the wearer wants the patch to blend into the garment or be visibly different. Those are both legitimate design choices. A patch that nearly matches but behaves badly is not automatically a better repair than a contrasting one chosen with the material in mind.
Laura Johnston’s published Patagonia story offers a real, attributed example of continued use after a visible repair. She describes a small campfire hole in familiar second-hand shorts and a pink patch added through the brand’s service. That is her account, not my repair, and it does not establish today’s service terms. It is useful here because the visible patch is part of keeping the garment in use.
Compare two hypothetical patch candidates
For the invented trousers, I would compare a heavy non-stretch scrap with a lighter scrap that more closely follows the original fabric’s movement. Neither wins simply by being available. I would inspect care compatibility and consider a sample before choosing a method.
The comparison below is a decision aid, not a strength test. It does not predict how long either candidate will last. The next step would be to consult a suitable illustrated patch method for the actual location and construction, or take the item to a repairer if support or access is uncertain.
| Question | Candidate A | Candidate B |
|---|---|---|
| Movement | Very stiff relative to trousers | Closer movement match |
| Care | Unknown | Label or material history available |
| Appearance | Close color match | Deliberate contrast |
| Next check | Establish compatibility | Try the planned method on a sample |
Plan the tools before cutting the garment
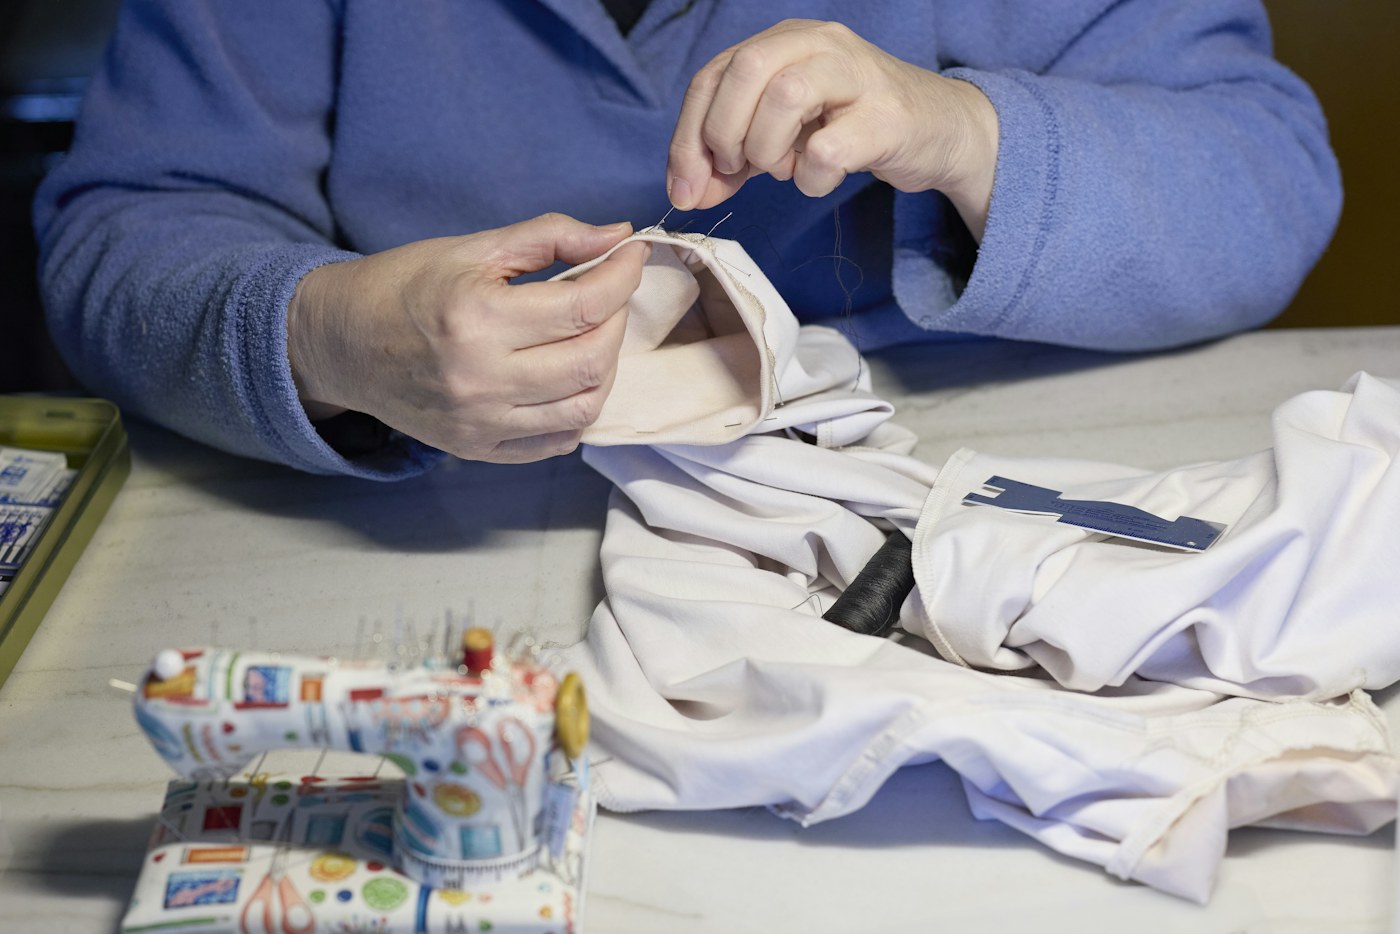
The hand-sewing kit reference distinguishes tools by their jobs. A seam ripper removes stitching; it does not repair lost fabric. A cutting tool creates a new edge, which is why I would keep irreversible changes until after the patch and method are understood.
I would test any marking product on an appropriate hidden area or scrap. A removable-looking mark is still a material added to the garment. If the patch plan requires opening a complicated seam to gain access, I would recognize that as an expansion of the project rather than call it a minor extra step.
Decide what would make me change the plan
I would stop a beginner patch plan if the supporting cloth is too weak, the item has specialist performance requirements or the desired finish exceeds the chosen method. Asking for help at that point preserves options. A repair decision can be successful even when the next action is a service inquiry rather than a completed patch.
If I proceed, the final check should consider how the area bends and feels as well as how it looks. A photograph of the finished surface cannot establish comfort, care compatibility or durability. The goal is a reasoned material choice, followed by an appropriate method and an honest assessment of the result.
Make the material comparison before drawing the shape
I would start the hypothetical pocket repair with three candidates on the table: a close-color scrap with different stretch, a contrasting woven scrap and a piece whose fiber and care history are unknown. I would compare them against the trousers rather than against one another in isolation. The source guides on making a fabric patch emphasize construction, fiber, weight and movement. Those factors help explain why the best visual match may not be the best material match.
The close-color candidate might move differently from the non-stretch pocket area. That does not make it a universally bad fabric; it makes its suitability a question for this task. The contrasting woven candidate may be easier to understand materially while requiring a deliberate appearance choice. The unknown piece may be useful for practice without being the first choice for a repair that needs known care compatibility. I would record those differences instead of rank the scraps from best to worst without context.
I would also compare thickness and flexibility at the damaged location. A pocket corner needs to bend with the garment, and a very stiff addition can change how the area sits. A thin addition may create another mismatch. The useful observation is relative: how does this material differ from the cloth it will join? I would avoid converting an informal feel test into a claim about strength or life span. It helps frame a candidate, not certify a repair.
Once a material seems plausible, I would check its relevant care information and consider an appropriate sample. The final decision should preserve the distinction between documented properties, observed handling and unresolved questions. That gives the patch a reason to be there beyond availability. It also provides a practical stopping point: if no candidate can be assessed adequately, the next step is obtaining suitable material or a repairer's advice rather than making the unknown scrap fit the plan by optimism.
Plan the patch edge and the damaged area separately
The patch has at least two boundaries to think about: the area it needs to cover and the edge treatment required by the chosen method. I would not confuse a fold allowance with the margin needed around damage. The linked patch-making guide demonstrates its own construction. Its example measurements should not become a universal rule about how far every patch extends beyond a hole. The supporting cloth and the actual method determine what needs to be assessed.
For the pocket example, I would inspect the wear around the visible opening and identify where the proposed attachment would meet sound material. If the weak region extends beyond the planned shape, making a decorative edge does not solve that problem. I would redraw the plan or seek advice before cutting. A neat rectangle can be the wrong repair if its attachment depends on cloth that is already too worn to support it.
The edge needs to suit the material. Some raw edges can fray, and different fabric structures behave differently when cut. I would follow an appropriate method rather than assume every scrap can be sewn on with an untreated edge. The purpose of the edge decision is to make the chosen material manageable and compatible with the repair, not simply to reproduce the outline of a photograph from another garment.
I would make a paper plan or a sample where useful, keeping irreversible cutting of the garment until the method is understood. The plan should include access to the reverse and whether a pocket or lining could be caught accidentally. If reaching the area requires opening complicated construction, the task has grown. Naming that change early can save the garment from an improvised sequence of cuts whose only justification is that the repair has already begun.
Follow a suitable attachment method without pulling the shape
For an ordinary compatible woven patch, the Patagonia and iFixit guide on whip stitching a patch provides an illustrated attachment method. I would use the complete guide to understand the edge preparation, placement and stitch movement. The practical decision in this article is whether that method suits the actual item. I would not mix a partly remembered stitch with assumptions about a different fabric and then describe the result as the guide's repair.
I would inspect the alignment before sewing and during the work. The patch should not shift into a shape that asks the garment to gather around it. If the fabric is being drawn up, I would stop and inspect tension and holding arrangements. Stitching farther while hoping the finished piece will lie flat can make a local problem harder to correct. A controlled pause is useful when the shape begins to depart from the plan.
The reverse deserves attention too. A pocket repair can accidentally join layers that need to remain separate. I would check the accessible area repeatedly enough to keep that risk understandable, rather than wait until the whole edge is attached. The exact holding method should suit the fabric, with all temporary tools accounted for. A good-looking face does not establish that the pocket still works as intended.
After the edge is secured according to the selected method, I would inspect both the patch and the surrounding cloth in ordinary movement. The result should be assessed against the intended appearance and material behavior, not only the closeness of individual stitches. If the patch creates unexpected stiffness or distortion, that is information for a new decision. It should not be hidden behind a claim that the chosen stitch is inherently strong enough to overcome any mismatch.
Decide what a visible repair is meant to preserve
Laura Johnston's attributed account shows a visible patch becoming part of continued use of a familiar garment. I would take that as a reason to discuss appearance openly, rather than as a promise that every owner will welcome contrast. For the hypothetical trousers, I would ask whether the repair should blend in, mark the garment's history or simply make a practical choice within the available compatible materials.
A visible patch should still have a material rationale. Decorative contrast does not remove the need to assess wear, movement and care. Conversely, a close-color patch does not need to be rejected merely because visible mending is appealing. I would make the appearance choice after identifying candidates that plausibly fit the task, so that style does not quietly become the only selection criterion. The garment belongs to a person with preferences and a real use, not to an abstract repair aesthetic.
I would also distinguish preserving an item from preserving every aspect of its previous appearance. Some repairs change the look or feel enough that the owner should decide whether the result still suits them. A service inquiry can include those preferences before work begins. If the desired finish is outside a beginner method, asking for professional options can be the most direct way to respect both the item and the reason it is being kept.
The final record can be brief: what area was addressed, what material was added and any relevant care information. A photograph may help document appearance, but should not be treated as evidence of untested durability. The useful outcome is a repair whose choices can be explained. That makes the next care session or future repair more understandable than a patch selected solely because it covered the opening neatly on the first day.
Write the material choice as a short comparison
For the pocket example, I would write one sentence explaining why the chosen material is a better candidate than the alternatives. It should mention movement and care as well as appearance. “The contrast is acceptable and the material is better understood for this repair” is more informative than “this looks nice.” The exercise makes the choice inspectable without pretending the sample has established long-term performance. A decision can be well reasoned while still retaining a clear limit.
I would add a second sentence about the damaged area: where the visible opening lies and what remains uncertain about the surrounding cloth. If the supporting region cannot be identified confidently, the patch shape is not ready to become a cut piece. That sentence stops a visually attractive plan from moving ahead of the material assessment. It also gives a repairer useful context if the next step is asking for help rather than continuing at home.
The third sentence would identify the selected method and its access requirements. I would note whether the pocket and reverse can remain free of unintended stitches and whether edge preparation is understood. The source's illustrated sequence can then be followed for the relevant construction. I would not leave a vague instruction such as “sew securely” to stand in for knowing which layers are being joined, how the edge is handled and where the attachment will meet sound cloth.
After the work, I would compare the result with those three sentences. An unexpected change in movement, shape or access deserves attention even when the surface looks tidy. The record should identify any correction and relevant new care information. This leaves the garment with a small, usable history of the repair choice. It also makes the next decision easier to explain, because the patch is no longer an anonymous piece of fabric whose appearance is the only surviving clue to why it was selected.
Frequently Asked Questions
Q: Should a patch be exactly the size of the hole?
A: Do not choose size from the opening alone. Inspect the surrounding wear and follow the method appropriate to the actual fabric and location. This article does not prescribe a universal overlap measurement.
Q: Is matching fiber content enough?
A: No. Construction, stretch, thickness, finish and care requirements can differ even when the fiber names match. Compare how the materials need to behave in that part of the item.
Q: Can a contrasting patch be a good choice?
A: Yes, when it is compatible with the garment and the appearance is intentional. Color matching is one consideration, not a substitute for a suitable material and method.
Q: Does the cover show this repair?
A: No. It is a licensed illustrative photograph. The pocket example is hypothetical, and Laura Johnston’s story remains the separate attributed experience linked below.
Q: When should I use a repair service?
A: Consider a service when the supporting fabric is weak, access requires complicated construction work, the item is valuable or the performance requirements are outside a simple ordinary-clothing repair.
One thing to take forward
I would choose a patch only after understanding the cloth it must live with. Looking beyond the hole turns the task from covering a shape into making a considered decision about movement, care and continued use.
Sources & further reading
- Identifying Patagonia Fabrics — iFixit ↗
- Hand Sewing Tool Kit — Patagonia / iFixit ↗
- Laura Johnston: My Pink Baggies — Patagonia ↗
- Make a Fabric Patch — Patagonia / iFixit ↗
- Whip Stitch on a Patch — Patagonia / iFixit ↗
Something needs correcting? Write to the editors with the article link.